diy floral backdrop
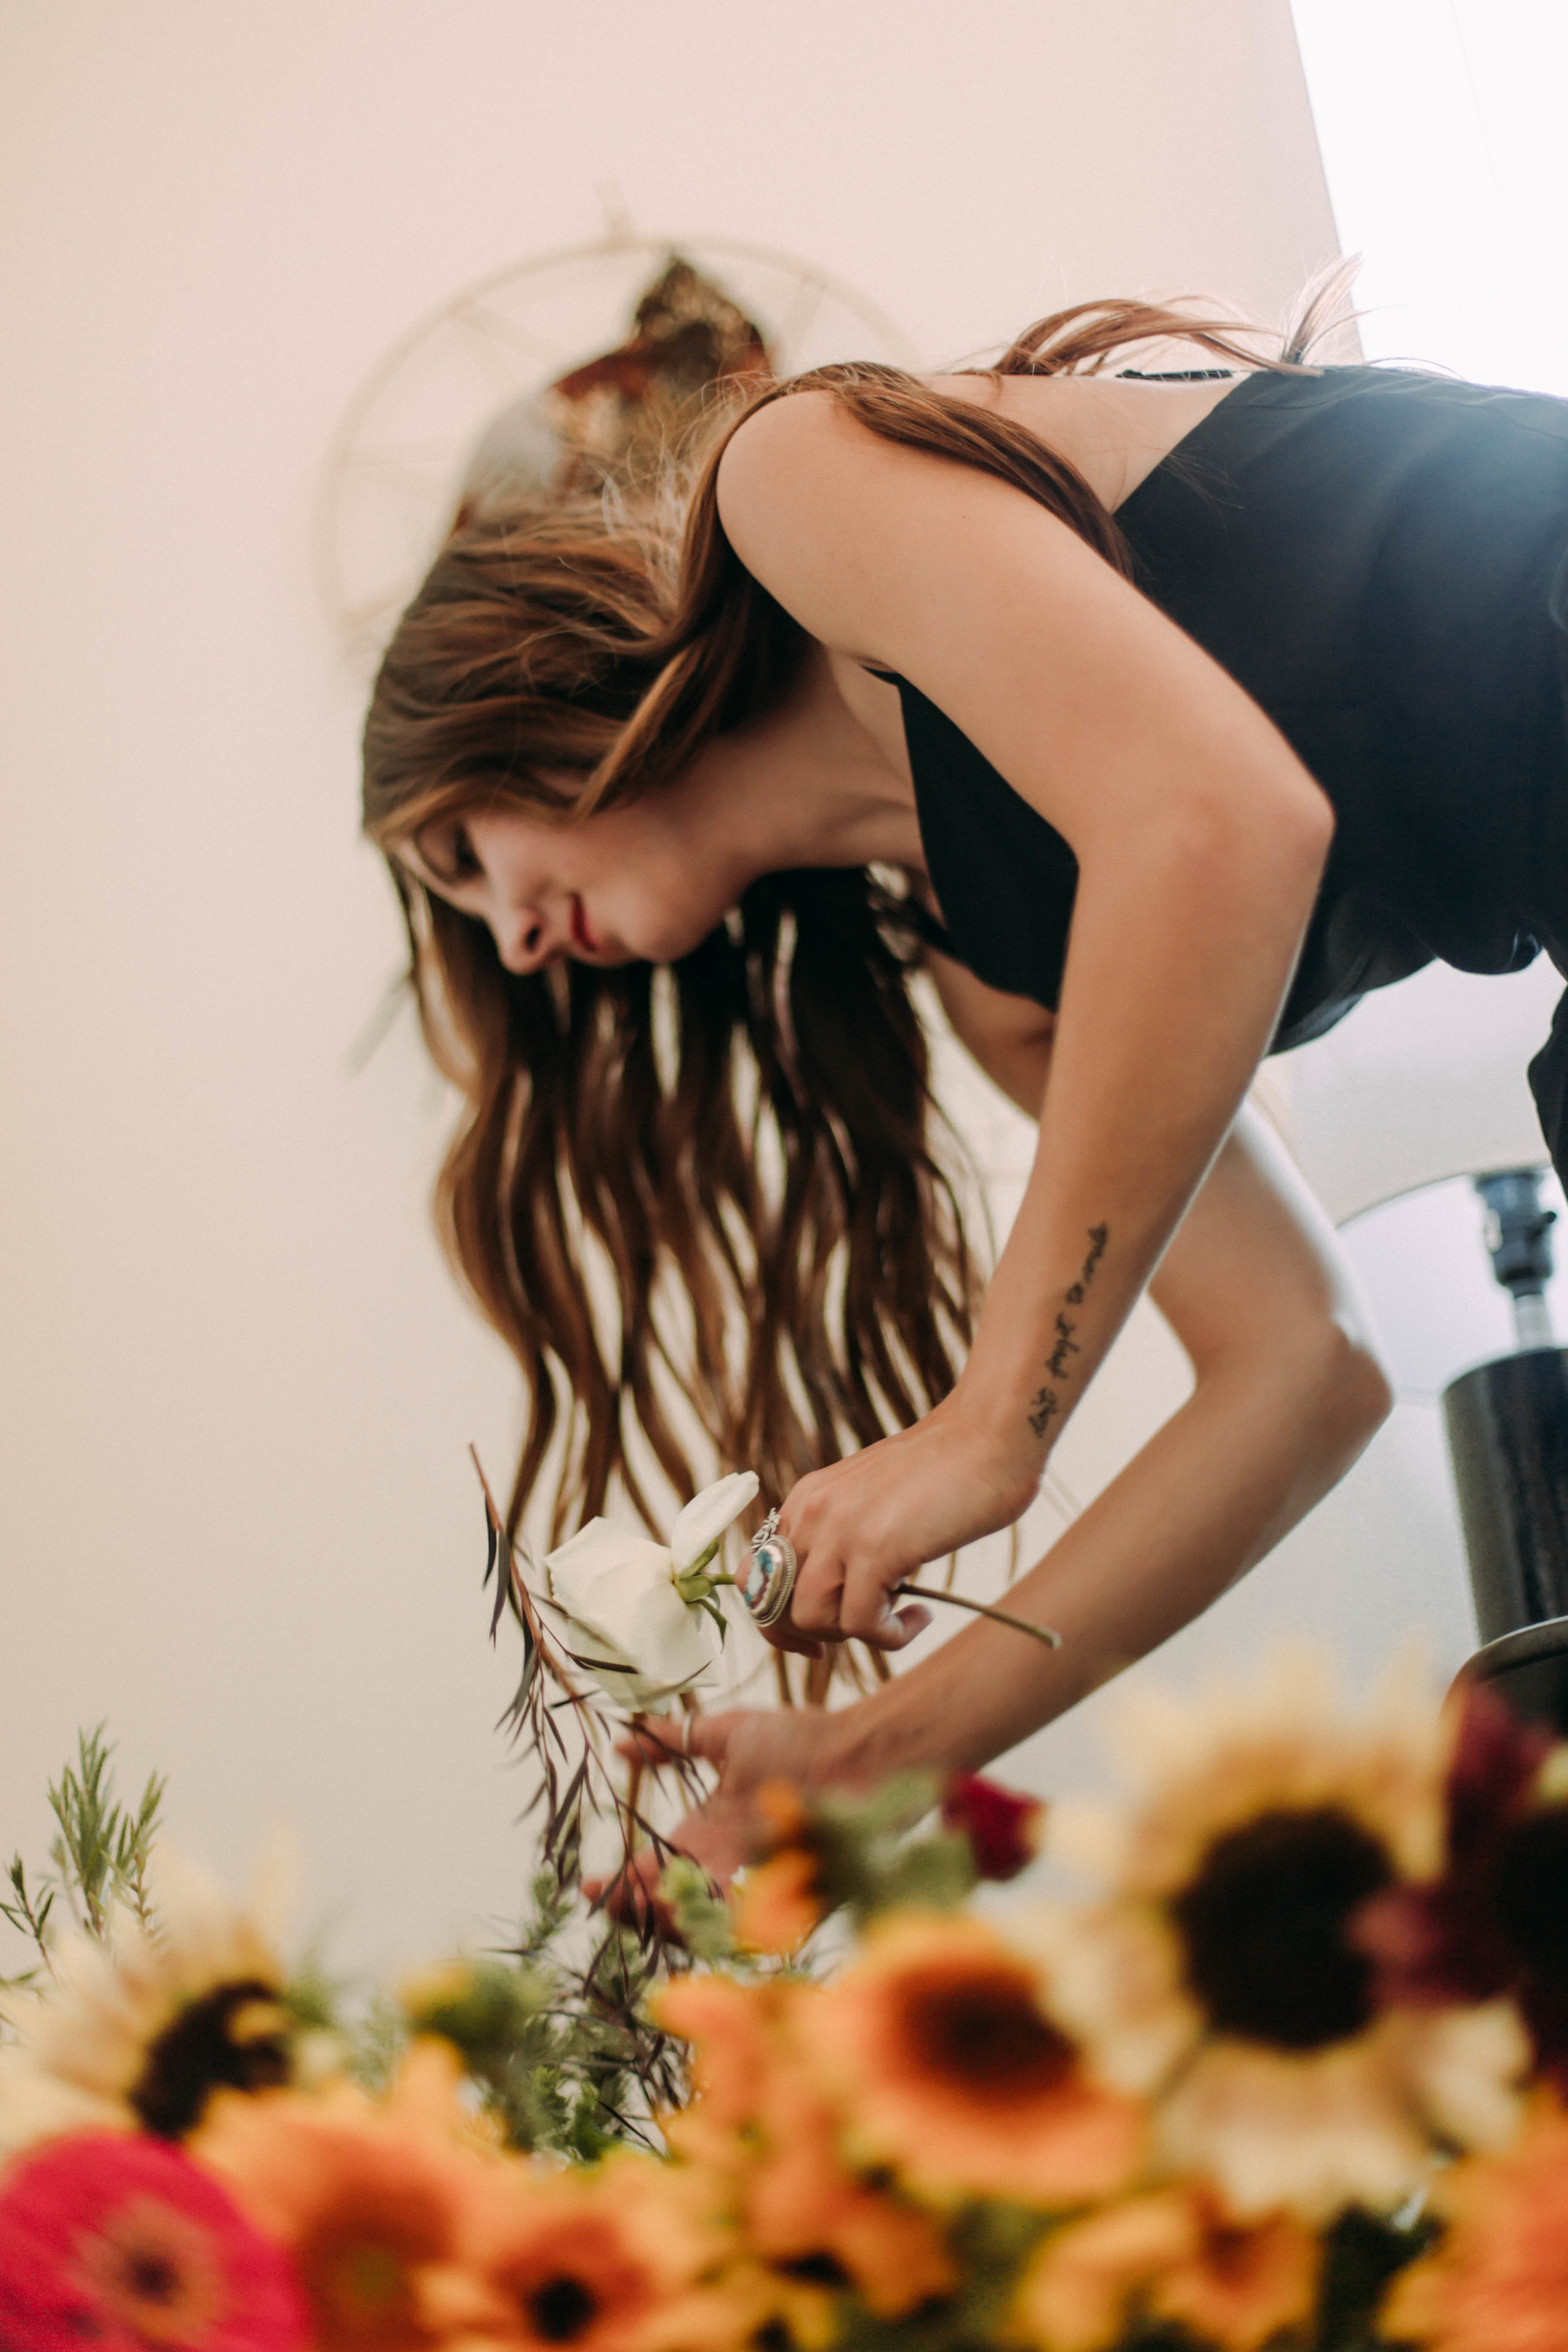
A big cheers to my first DIY blog post! I will now be posting a do-it-yourself flower project once a month. I decided to do this because I am a crafter at heart, so this feeds my soul. I also know that there is always a baby shower, bridal shower, or birthday party that definitely needs some sprucing up, and what better way than with flowers?
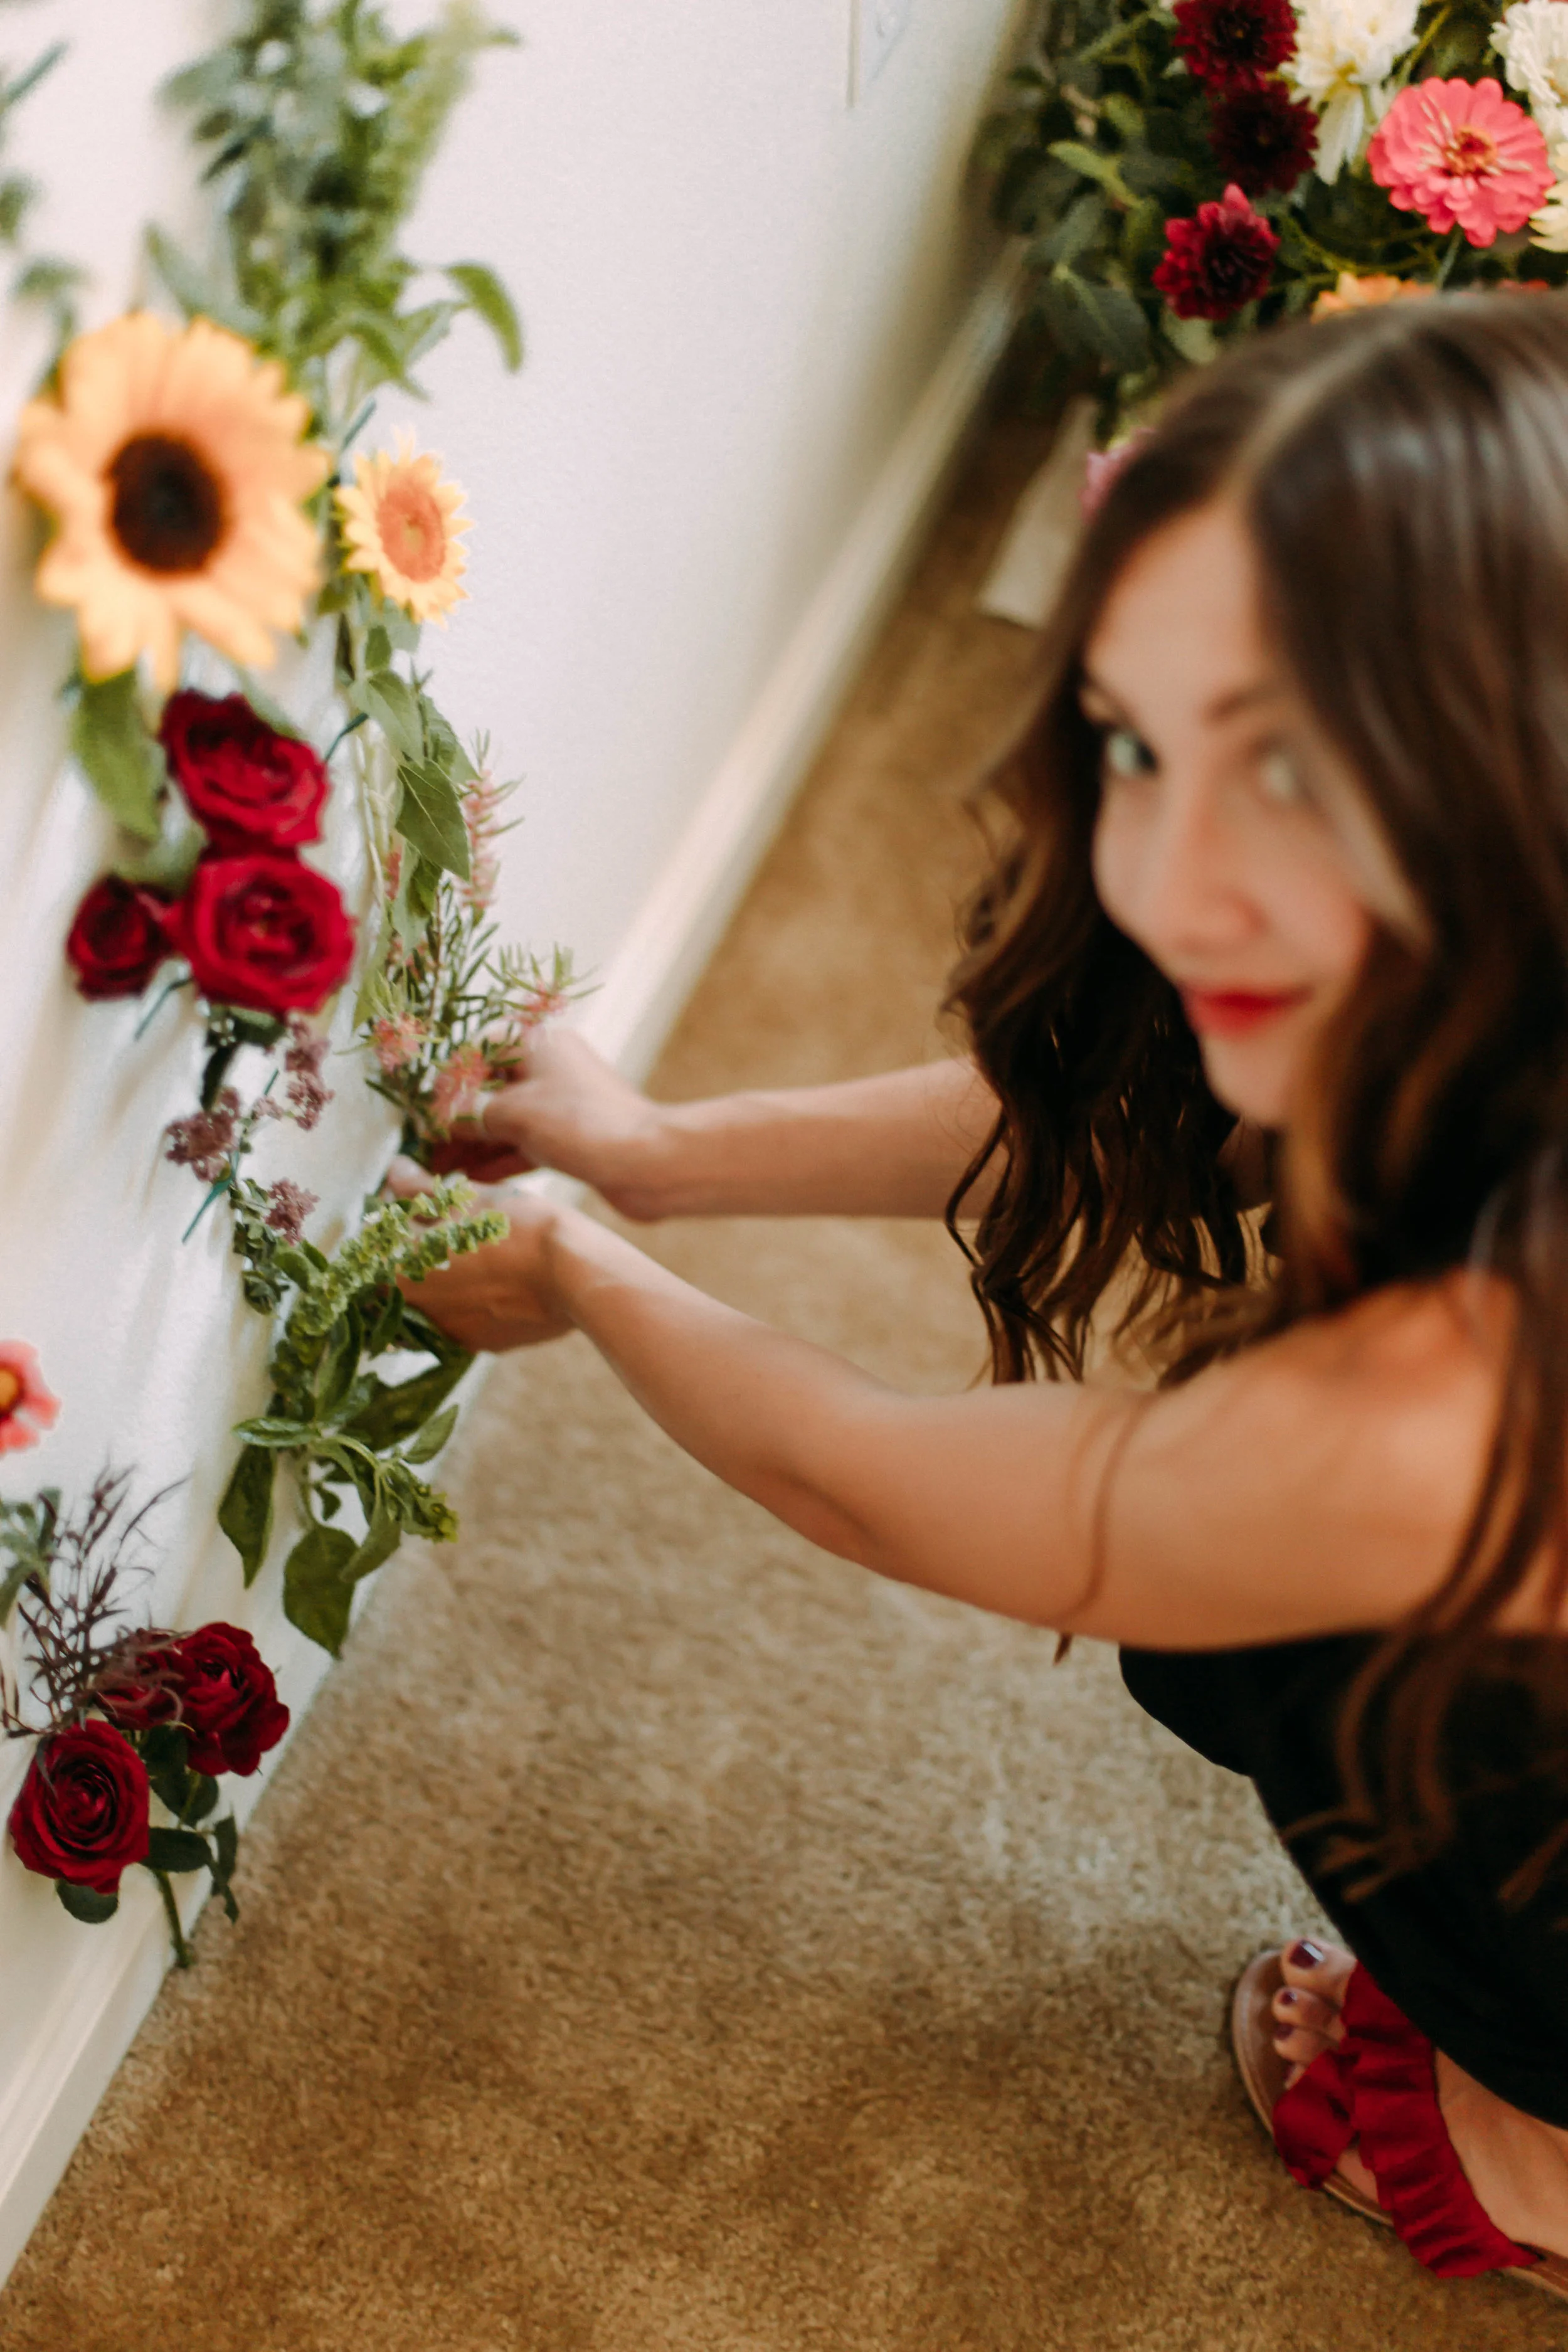
I have seen this done a few different ways, and I obsess over it every time; I decided to try it myself, and share it with you guys! This would be the perfect back drop at any party, and I think that it could even work at a wedding or special event.
You Will Need:
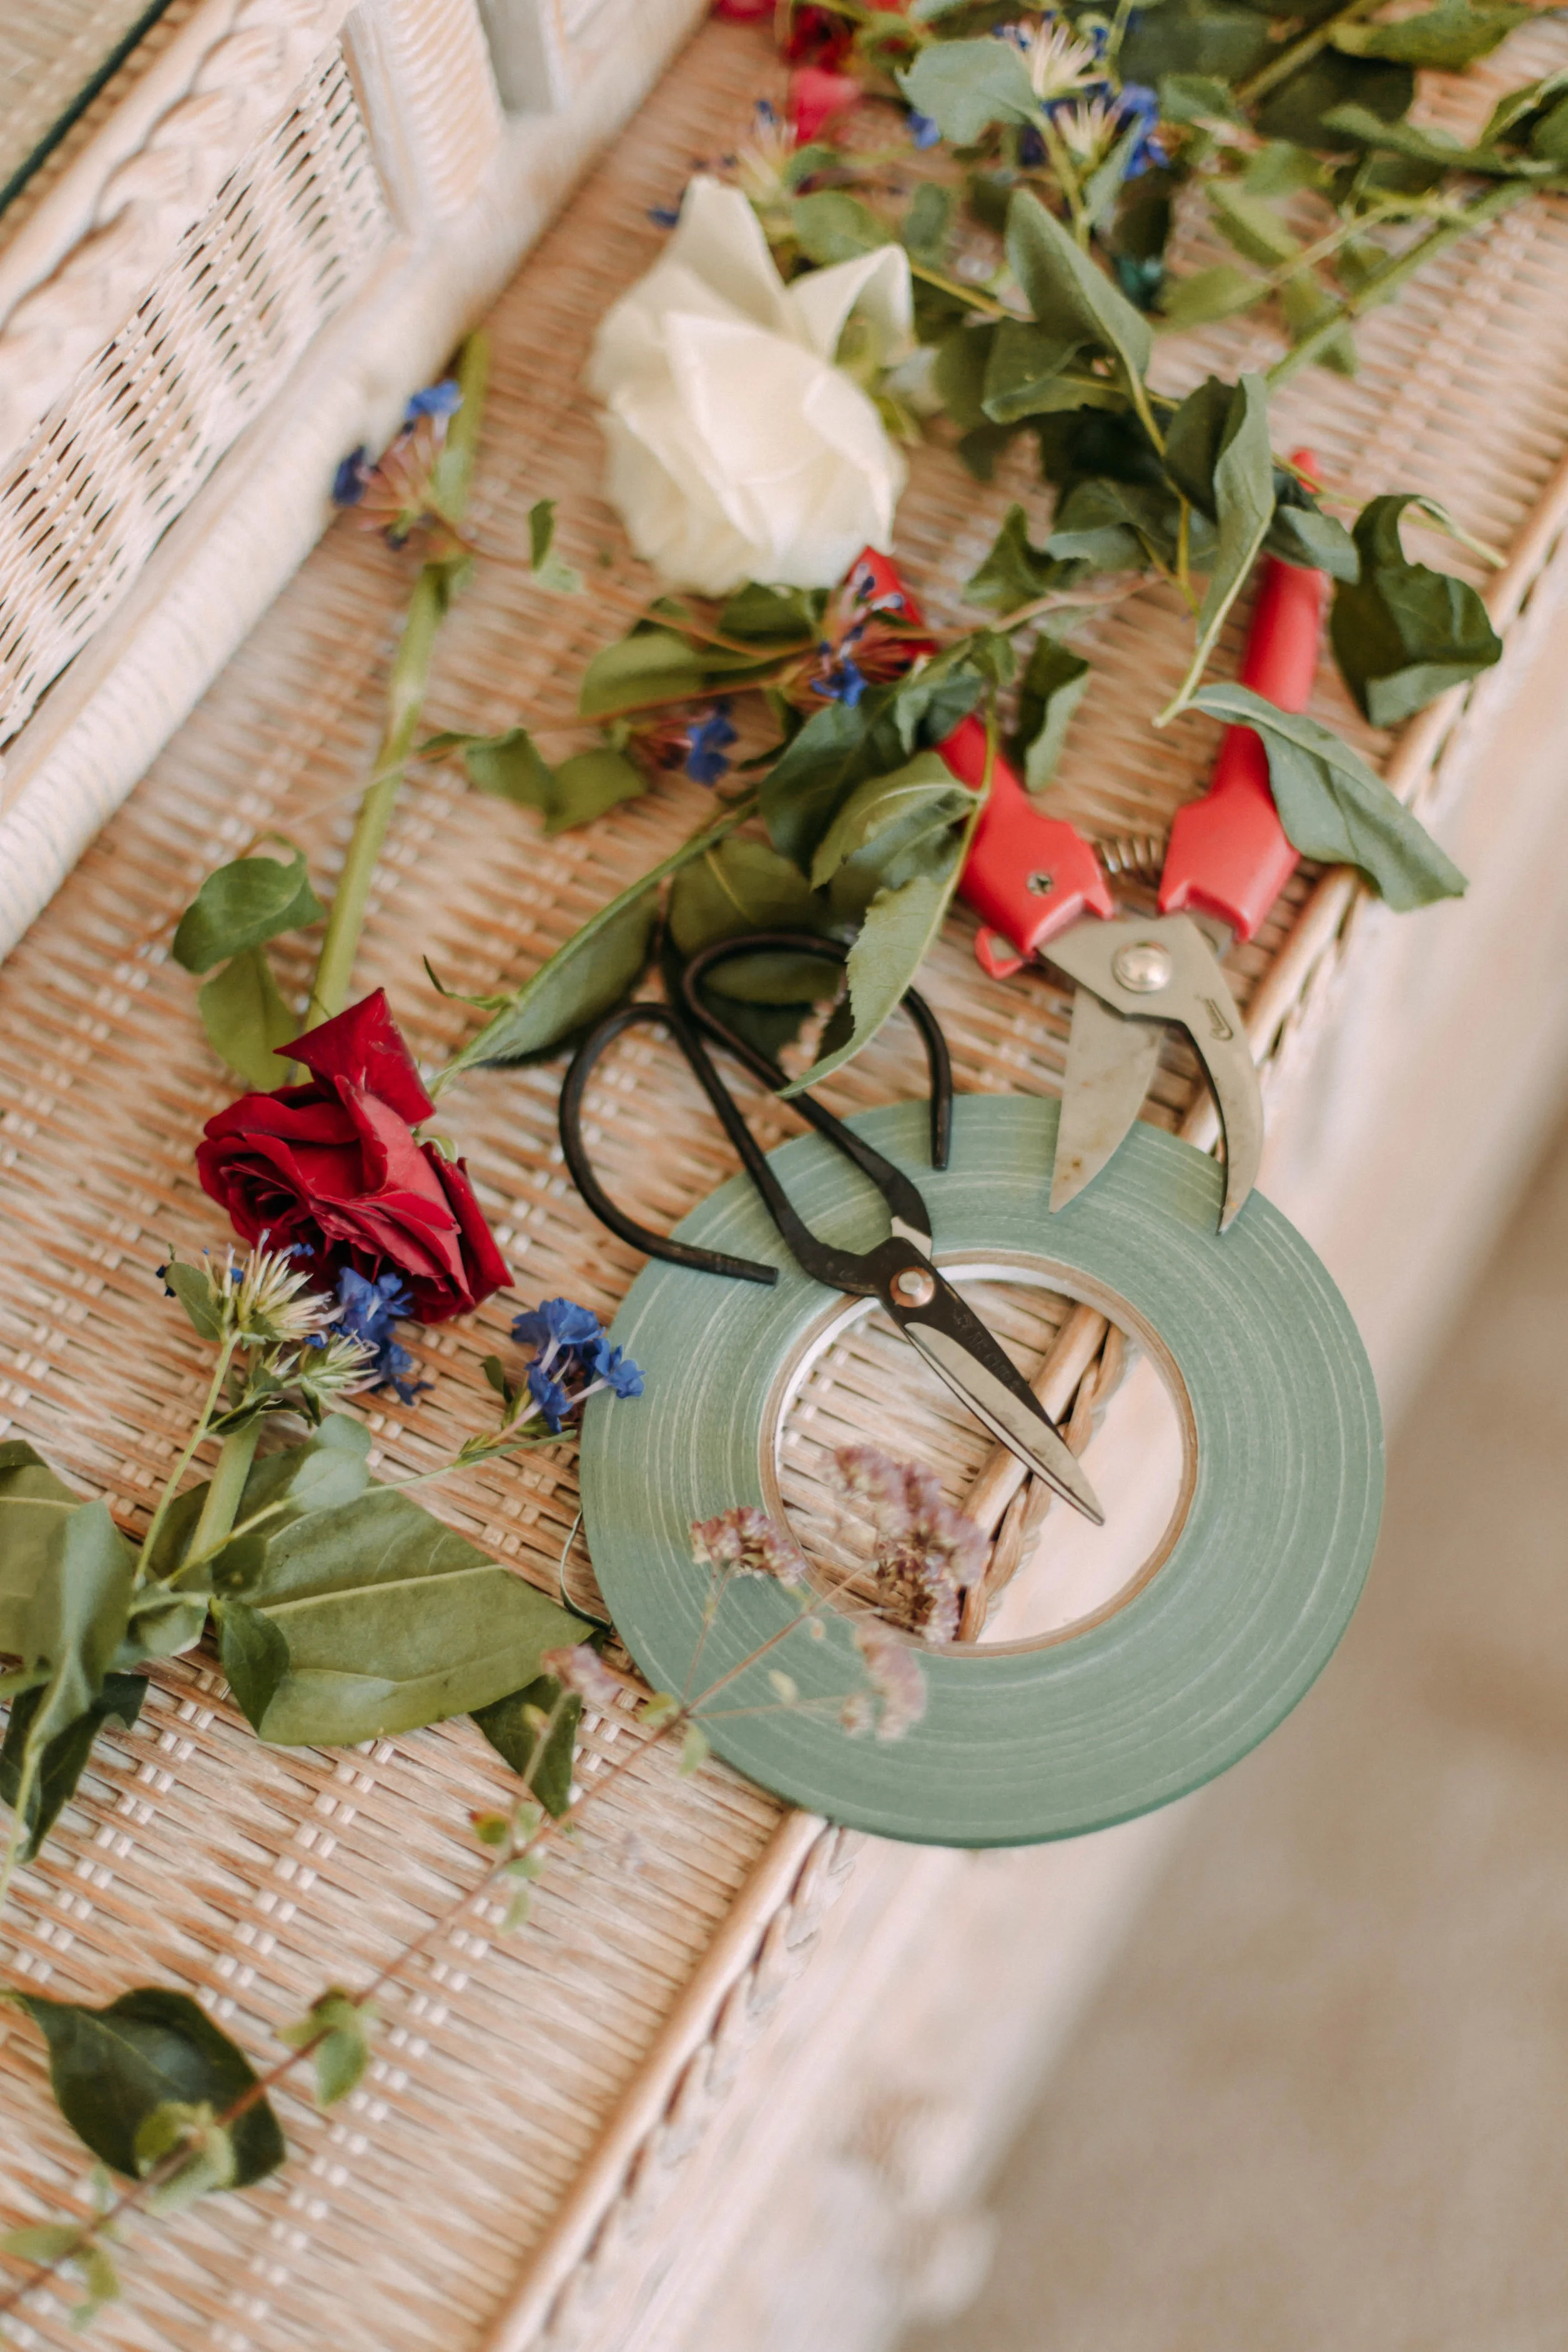
tape that will adhere to a wall
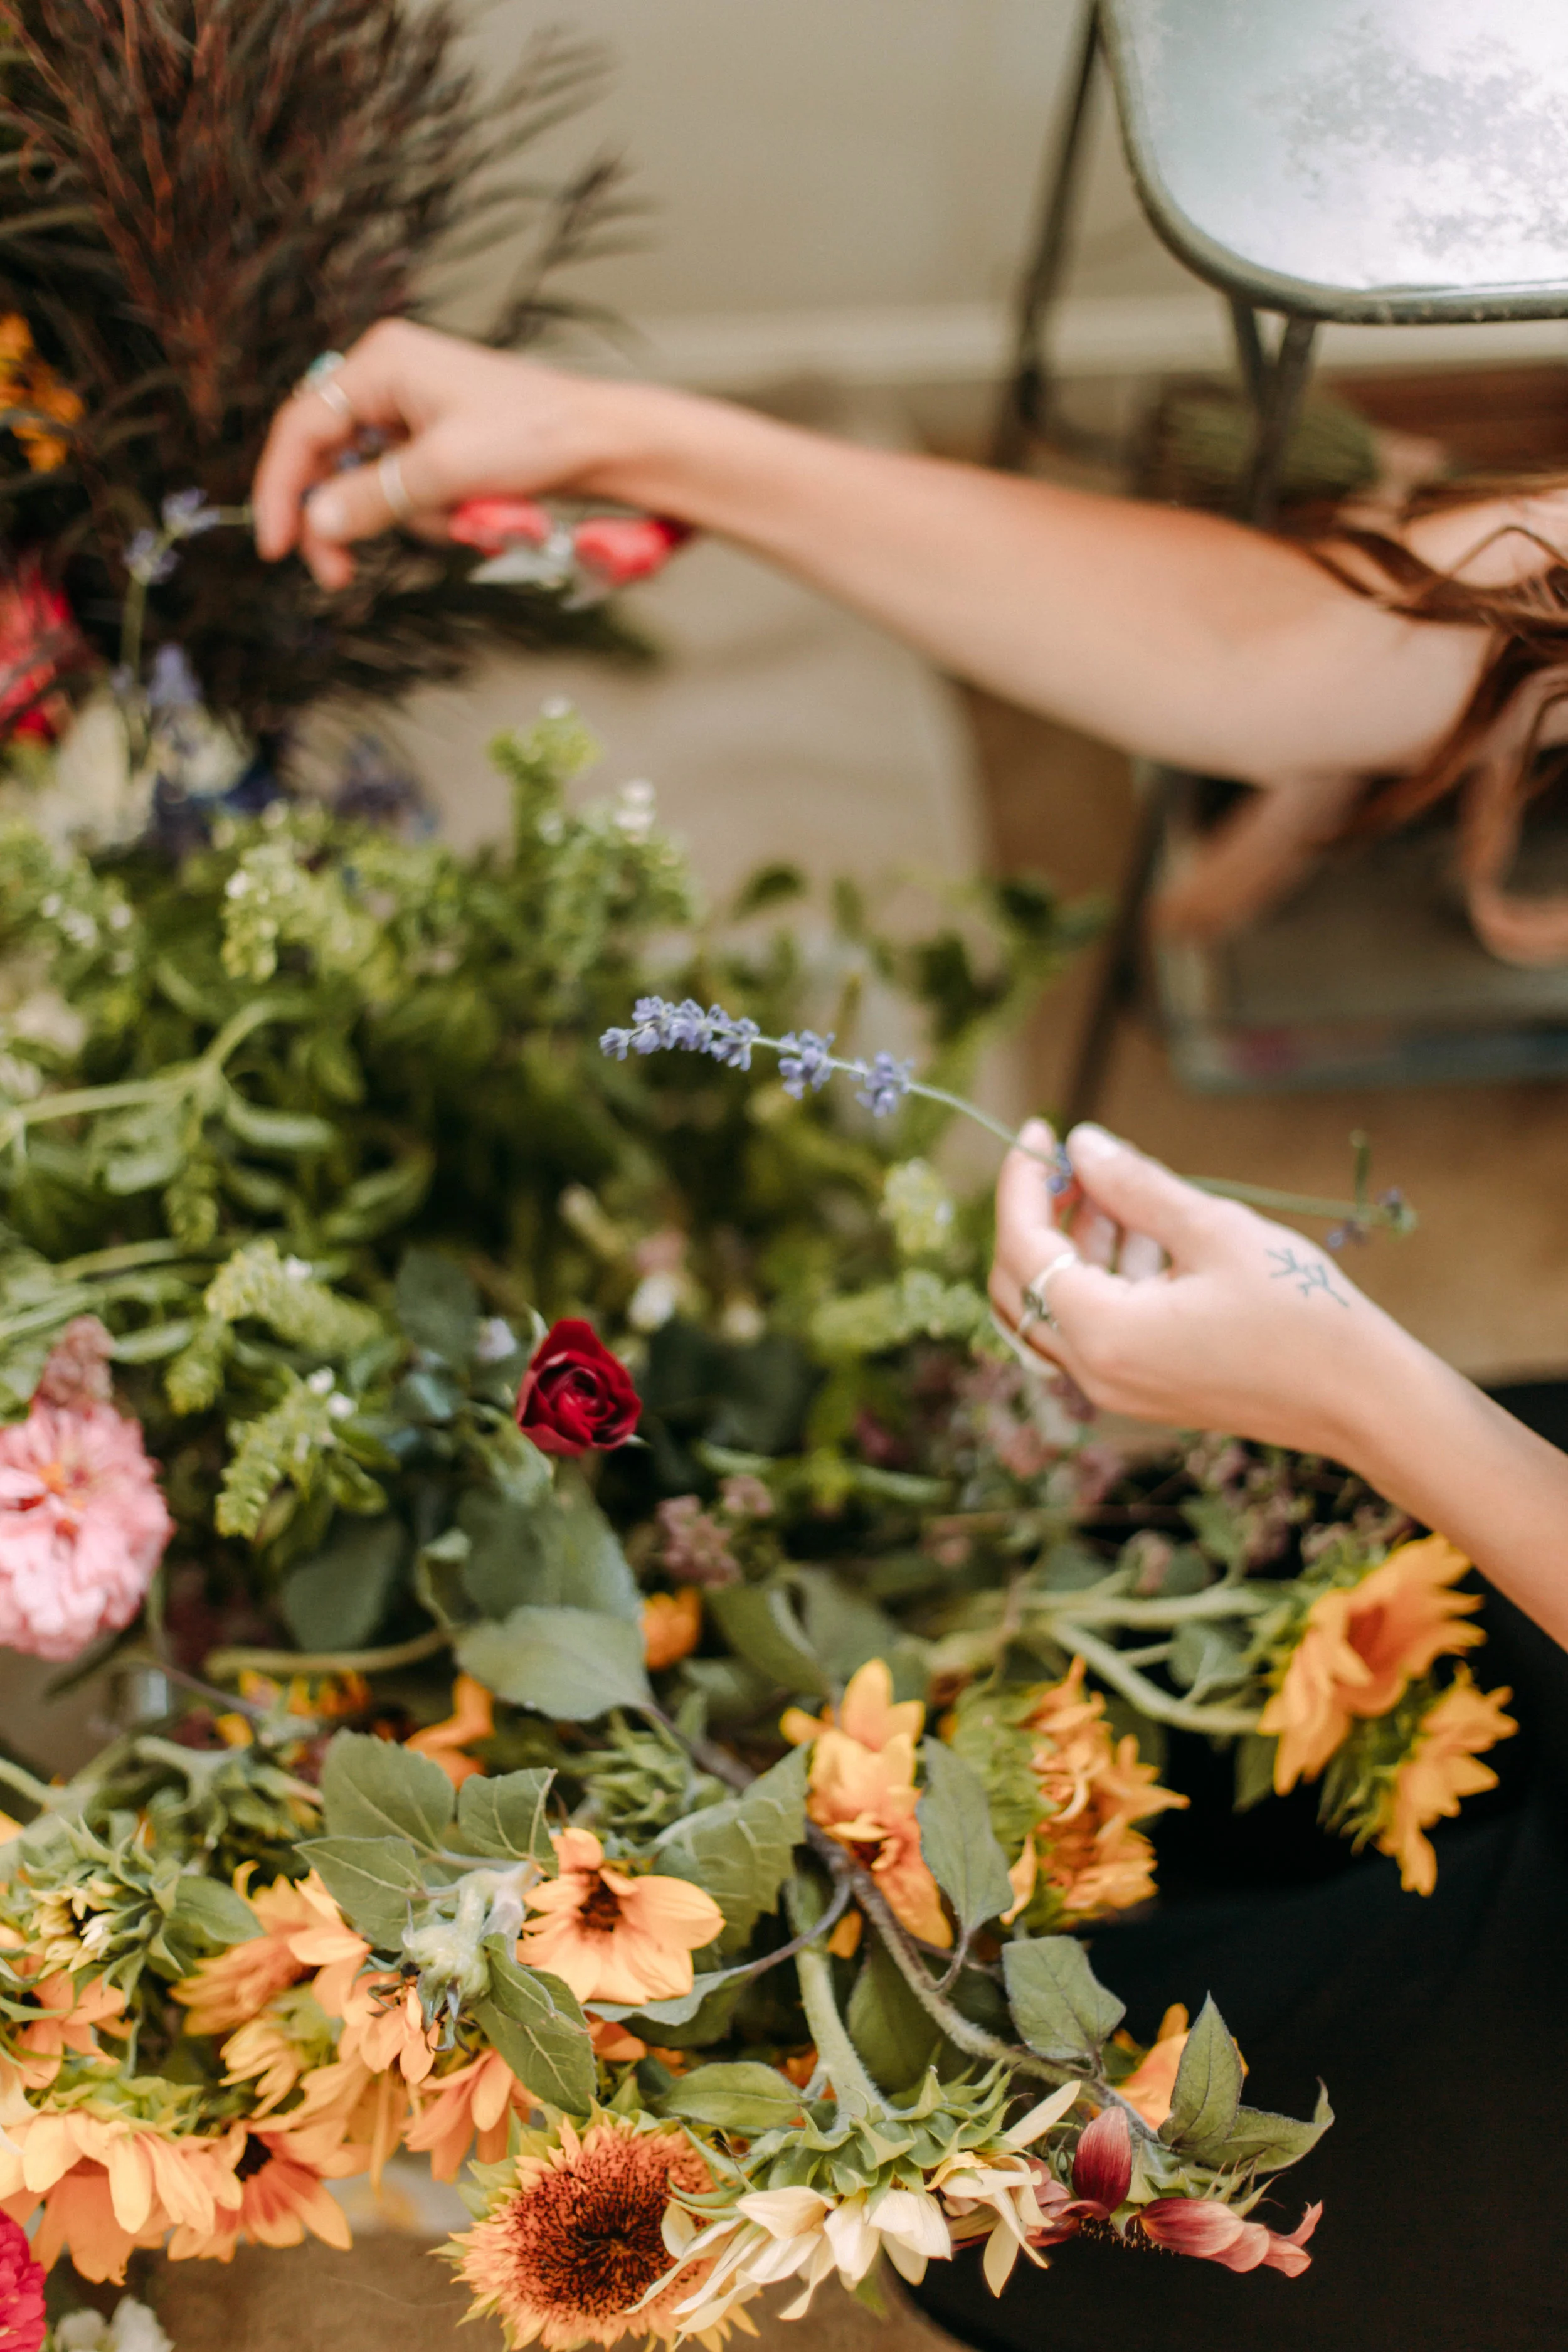
floral snips
variety of flowers and fillers
I used floral tape, which is waterproof and super sticky. This worked really well for me - I loved the thinness, and the simple green color. You can find this tape at a floral supply, craft store, or online. Some other options would be thin duct tape, washi tape, or masking tape.
I got my flower variety from a small local flower farm, picked some from my pots out back, and a few were left over from a wedding (which were ordered online and shipped to me from farms).
Steps:
Process the flowers (remove packaging, trim stems, place in fresh water)
Clean the wall to ensure the tape will stick
Cut the flowers down to a good length (anywhere from 4-12 in.)
Attach flowers to wall row by row vertically
Helpful Tips and Tricks
heavier flowers with thicker stems will need a piece of tape at the top and bottom of the stem where as thin stems will only need one piece
not planning a pattern and making it up as you go turns out more natural looking
pay attention to where you are placing the same color flower if you aren’t wanting a pattern
using a variety of textured flowers often looks the best
drinking a cup of tea while creating this makes the finished project 10x better
I hope that this project comes in handy one day, and you enjoy creating it just as much as I did!
Any thoughts on these posts are very helpful and greatly appreciated! Don’t forget share your project with me if you try it too!


